
Program a 2014 Chevy Cruze Key Fob: Keyed and Push-Start Steps
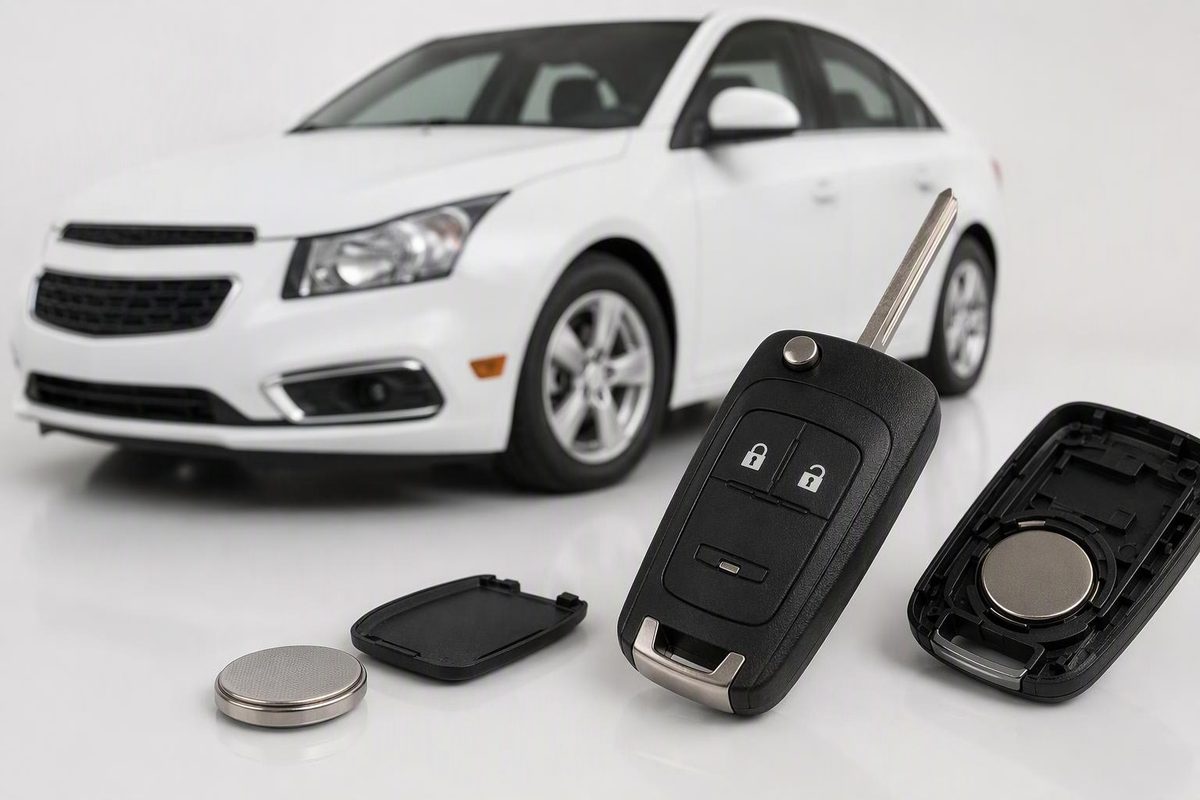
Choose the correct 2014 Cruze programming sequence for keyed or push-button ignition, with one recognized key or none, plus Canadian restrictions.
The 2014 Cruze has separate programming procedures for turn-key ignition and push-button Keyless Access. Both have a short add-key method when one recognized key or transmitter remains. Without one, the manual describes approximately 30-minute relearns—but restricts those owner procedures in Canada. Use the procedure for your ignition system below. Chevrolet’s 2014 owner’s manual, pp. 2-6–2-8
Identify your system before starting
Choose by the car’s ignition, not just the fob’s appearance: the 2014 Keyless Access transmitter also has a folding blade. On a keyed car, that blade operates the ignition and locks; on a push-start car, it operates the locks. Mechanical entry, remote locking and electronic start authorization are different functions. A blade that unlocks the door does not establish that its transmitter is recognized. 2014 manual, pp. 2-2 and 2-6
Before programming:
- Confirm the replacement’s compatibility with your VIN and ignition system. Have its blade cut so it operates the required ignition or door lock. See our Cruze replacement guide for matching and cutting.
- Gather every key or transmitter you intend to keep using.
- Check whether an existing key still starts the car. If only its remote buttons have stopped working, check the battery, distance and signal obstructions before attempting a relearn. Chevrolet recommends those checks first. 2014 manual, p. 2-3
Stop before a no-recognized-key relearn if you are not prepared to reprogram every remaining key. Those procedures erase the previously learned credentials.
Turn-key ignition: one recognized key available
Use this sequence only for a Cruze with an ignition lock cylinder and an already programmed key:
- Insert the recognized key and turn it to ON/RUN, without cranking the engine.
- Turn it to LOCK/OFF and remove it.
- Within five seconds, insert the new key and turn it to ON/RUN.
- Watch the security light. It turns off when the new key is programmed.
- Turn off and remove the new key. Repeat the sequence for additional keys, using a recognized key to begin each time.
These steps come from the 2014 manual, p. 2-6; NorthCoast Keyless’s model-specific instructions also specify removing the new key and testing afterward.
If the security light does not turn off, do not substitute an unrelated GM button-pairing sequence. Recheck the five-second timing and replacement compatibility.
Turn-key ignition: no recognized key available
Canada: Chevrolet directs owners to a dealer instead of this procedure. For a U.S.-market car covered by this manual, allow approximately 30 minutes for the first key. Start with the vehicle off and all intended keys present.
- Insert the new, correctly cut key into the ignition.
- Turn to ON/RUN. The security light comes on.
- Wait approximately 10 minutes, until the security light turns off.
- Turn to LOCK/OFF.
- Repeat steps 2–4 two more times, completing three waiting cycles.
- After the third cycle, turn to ON/RUN again. The key is learned, and all previously known keys no longer work.
- Turn to LOCK/OFF and remove the newly learned key. Learn any remaining keys using the short recognized-key sequence above, with this newly learned key as the recognized key.
Follow the security-light confirmation rather than treating 30 minutes on a timer as proof of success. 2014 manual, p. 2-6
Push-button Keyless Access: one recognized transmitter available
Start with the vehicle off. Have all recognized and new transmitters with you.
- Remove the plastic trim from the small storage area beside the accessory power outlet toward the front of the center console. This exposes the transmitter slot.
- Extend the recognized transmitter’s blade and insert the blade into that slot.
- Insert the new transmitter’s cut blade into the outside driver-door lock cylinder. Turn it to unlock five times within 10 seconds.
- The Driver Information Center (DIC) should display READY FOR REMOTE #2, 3, 4 or 5.
- Remove the recognized transmitter from the console slot and insert the new transmitter’s extended blade into the slot.
- Press ENGINE START/STOP. Once learned, the DIC indicates readiness for the next transmitter.
- Remove the newly learned transmitter and press its Unlock button.
- For additional transmitters, repeat steps 5–7.
- When finished, hold ENGINE START/STOP for 12 seconds to exit programming mode. Refit the trim.
Use the front-console slot specified by Chevrolet—not a generic cupholder location. 2014 manual, p. 2-7
Push-button Keyless Access: no recognized transmitter available
This feature is unavailable in Canada. For a U.S.-market vehicle covered by the manual, start with the vehicle off and every transmitter you want to program present. This procedure supports up to five transmitters. Allow approximately 30 minutes before the transmitter-learning steps.
- Insert a transmitter’s correctly cut blade into the outside driver-door lock cylinder. Turn it to unlock five times within 10 seconds.
- Confirm REMOTE LEARN PENDING, PLEASE WAIT on the DIC.
- Wait approximately 10 minutes, until PRESS ENGINE START BUTTON TO LEARN appears. Press ENGINE START/STOP; the pending message returns.
- Repeat step 3 two more times. After the third cycle, previously known transmitters no longer work. The DIC should display READY FOR REMOTE #1.
- Expose the front-console transmitter slot described above. Extend the blade of the transmitter being learned and insert it into the slot.
- Press ENGINE START/STOP. The DIC indicates readiness for the next transmitter when learning succeeds.
- Remove that transmitter and press its Unlock button.
- Repeat steps 5–7 for every other transmitter you intend to retain, including previously recognized ones.
- Hold ENGINE START/STOP for 12 seconds to exit programming mode and refit the trim.
The waiting sequence, five-transmitter limit and erasure warning are specified in the 2014 manual, pp. 2-7–2-8. Do not continue blindly if the expected DIC messages fail to appear.
Test each key—and know when to stop
Test engine starting, lock/unlock and trunk release with each intended key. On Keyless Access cars, also test passive door-handle entry. Keep other transmitters away from the car while checking each Keyless Access fob so another recognized transmitter does not mask a failed test. Remove the key from a keyed ignition before testing remote buttons: Chevrolet says those buttons are disabled while a key is in the ignition. 2014 manual, p. 2-4
If a push-start Cruze shows NO REMOTE DETECTED, a weak transmitter battery or interference may be responsible. Its documented backup starting method uses the same front-console slot: insert the recognized transmitter’s extended blade, select Park or Neutral, then press the brake and ENGINE START/STOP. This is backup starting, not programming. 2014 manual, pp. 2-8–2-9
Use a Chevrolet dealer for the Canadian no-key situations specified above. For incompatible parts, persistent security-light problems or missing learning confirmations, stop and use a dealer or qualified automotive locksmith with equipment appropriate to your Cruze. Report whether the failure affects remote buttons, passive entry, engine starting—or all three.