
Chevy Traverse Battery Location: Vehicle and Key Fob
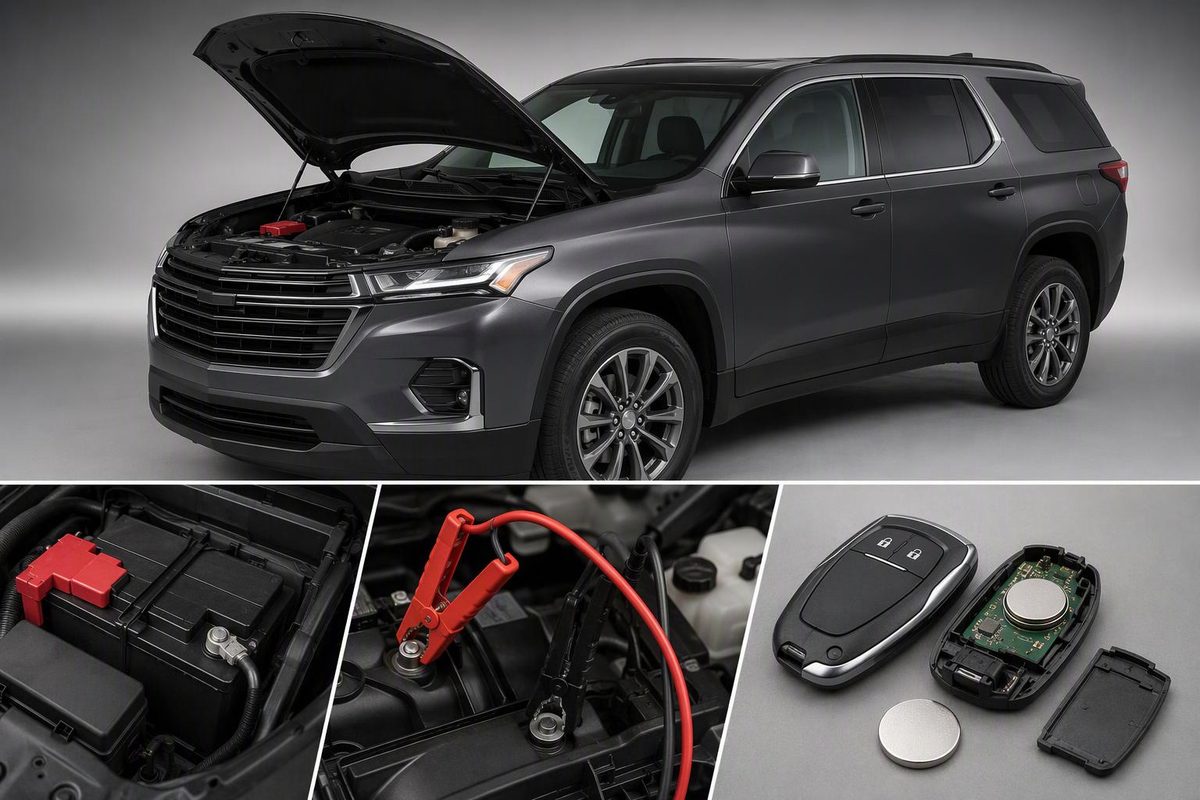
Find the Chevy Traverse 12V battery and jump points by model year, plus documented CR2032 key-fob battery instructions.
The Chevrolet Traverse has used two main 12V battery locations:
| Traverse model year | 12V vehicle-battery location |
|---|---|
| 2009–2017 | In the cabin, below a floor access panel behind the front passenger seat |
| 2018–2023 | Under the hood |
| 2024 | Under the hood |
If the goal is only to jump-start the Traverse, use the designated under-hood positive and negative connections shown in the manual for that model year.
2009–2017: below the floor behind the passenger seat
On a first-generation Traverse, look in the second-row passenger-side floor area, directly behind the front passenger seat. Move the front seat forward, lift the floor covering and remove the access-panel cover. The 12V battery is in the compartment below. AutoZone documents this location for the 2013 Traverse as inside the cabin, behind the passenger seat and under a panel (2013 Traverse battery-location note).
Opening the hood reveals the jump points rather than the battery. Chevrolet’s 2009 engine-compartment overview identifies a remote positive terminal and a remote negative terminal, and the 2014 overview shows the same arrangement (2009 Traverse Owner Manual, 2014 Traverse Owner Manual).
For a jump-start, leave the cabin floor panel closed and follow the connection sequence in the manual for the exact model year. Do not substitute an arbitrary bracket for the designated negative connection.
Battery removal is a separate job. After exposing the battery, note its label and how the hold-down, cables and any vent connection are arranged. If the correct removal and installation procedure is unclear, stop rather than disconnecting it in the cabin.
2018–2023: under the hood
Second-generation models place the 12V battery in the engine compartment. It is toward the rear of the compartment and may be partly obscured by covers or surrounding components.
Chevrolet’s 2021 engine-compartment diagram labels the battery as item 6, the positive battery terminal as item 8 and the remote negative terminal as item 11. Its jump-start procedure directs the final negative-cable connection to that remote negative terminal (2021 Traverse Owner’s Manual). Check the equivalent diagram for your own year before connecting cables.
2024: under the hood
The redesigned 2024 Traverse also has its 12V battery under the hood. Chevrolet’s engine-compartment overview identifies the battery as item 6, the positive terminal as item 8 and the remote negative terminal as item 11 (2024 Traverse Owner’s Manual).
Do not use first-generation cabin-access instructions on a 2024 model. For a 2025 or later Traverse, verify the diagram in that model year’s manual before removing covers or connecting cables; Chevrolet provides year-specific documents through its manuals and guides page.
If “battery location” means the key-fob battery
The key-fob battery is inside the remote housing. Multiple documented Traverse remotes use a CR2032, but the opening method and orientation depend on the fob design:
- 2009-style remote: Insert a thin, flat tool into the side notch and separate the housing. Chevrolet specifies a CR2032 with its positive side facing down (2009 manual).
- 2014-style remote: Open the case at the notch along its seam. This manual also specifies a CR2032 with its positive side facing down (2014 manual).
- 2021 smart fob: Press the side button and remove the mechanical key. Split the case near the key slot, then push and slide the battery out. Chevrolet specifies a CR2032 with its positive side facing the back cover (2021 manual).
For another fob design, read the complete number on the installed cell and record its orientation before removal. The Chevy key-fob battery guide explains how to match the opening method to the housing rather than relying only on the Chevrolet badge.
The cited Chevrolet battery-change procedures do not specify a programming step afterward. If a fresh, correctly oriented cell does not restore the buttons, test the spare fob and confirm that the vehicle’s 12V electrical system is working before paying for transmitter programming.